Introduction to Xcode
If you want to become a native app developer for iOS, the first steps you should follow are:
Learn the Swift programming language: Swift is the programming language used to develop native applications for iOS. If you have no previous programming experience, it is important that you start by learning the basic concepts of Swift.
Install Xcode: Xcode is the integrated development environment (IDE) used to create applications for iOS. You can download it for free from the Apple App Store.
Get an iOS device: To test and debug your applications while developing them, it is important that you have access to an iOS device, such as an iPhone or iPad.
Sign up for the Apple Developer Program: To publish and distribute your applications on the Apple App Store, you need to sign up for the Apple Developer Program. This program allows you access to the tools and resources needed to develop and distribute your applications.
Familiarize yourself with the iOS development framework, called UIKit. UIKit is a set of APIs and tools that allow you to create user interfaces and control user interaction with your application.
Read the iOS app development guide and follow the online tutorials to learn how to develop basic iOS applications.
Finally, practice and develop your skills by creating more complex applications and submitting them to the App Store to share with the world.
What is Xcode and what is it used for
Xcode is Apple's official integrated development environment (IDE) for developing applications for its platforms, such as iOS, macOS, watchOS, and tvOS. Xcode is free and comes with a full set of tools to help developers create high-quality apps.
With Xcode, developers can write code in languages such as Swift and Objective-C, design user interfaces using the iOS development framework called UIKit, and test and debug their applications on a virtual device or on a real device connected to the computer.
In addition, Xcode includes a build tool that allows developers to quickly and easily package and submit their applications to the App Store. It also has a resource library and metadata editor that make it easier to manage app resources and present the app on the App Store.
In summary, Xcode is an essential tool for any developer who wants to create applications for Apple platforms. It offers a complete and powerful development environment that allows developers to create high-quality applications efficiently and effectively.
Getting started with Xcode
If you want to start using Xcode, you can follow these steps:
Make sure you have a Mac running macOS that meets the minimum requirements to run Xcode. You can find these requirements on Apple's website.
Visit the Mac App Store and search for Xcode. Click the "Get" button to download and install Xcode on your computer.
Once Xcode is installed, launch the application and follow the on-screen instructions to set up Xcode and accept the terms and conditions.
When the initial setup is complete, Xcode will take you to the main application window. From here, you can create a new project or open an existing project.
To create a new project, click "Create a new project" in the Xcode main window. Select a suitable project template for the type of app you want to develop and follow the on-screen instructions to set up the project.
Once you have a project created, you can start writing code in Xcode using the built-in code editor. You can also design your app's user interface using the built-in user interface editor.
To create a new project in Xcode, follow these steps:
- Open Xcode on your Mac.
- Click on "File" in the menu bar at the top of the screen and select "New" and then "Project" in the dropdown menu.
- In the window that appears, select the app template you want to use for your new project. If you're not sure which one to choose, you can select "Single View App" to get started.
- Click on "Next".
- Assign a name to your new project and select a location to save it on your Mac.
- Click on "Create" to create the project.
Once you've created the project, a window will appear with the Xcode workspace. From there, you can begin adding elements to your project and start developing your app.
At the time of setting up your new project you can choose SwiftUI
SwiftUI is a declarative user interface development framework created by Apple for its mobile app development platform, MacOS, watchOS, and tvOS. SwiftUI allows you to create user interfaces quickly and easily using a declarative approach instead of imperative programming. This means that instead of writing code to tell the system how to draw a user interface, you can simply declare what you want to be shown on the screen and SwiftUI will take care of the rest.
SwiftUI also offers a number of advantages, such as ease of use, improved productivity, and compatibility with other Apple platforms. Additionally, SwiftUI uses the Swift programming language, making it easy to learn for those already familiar with this language.
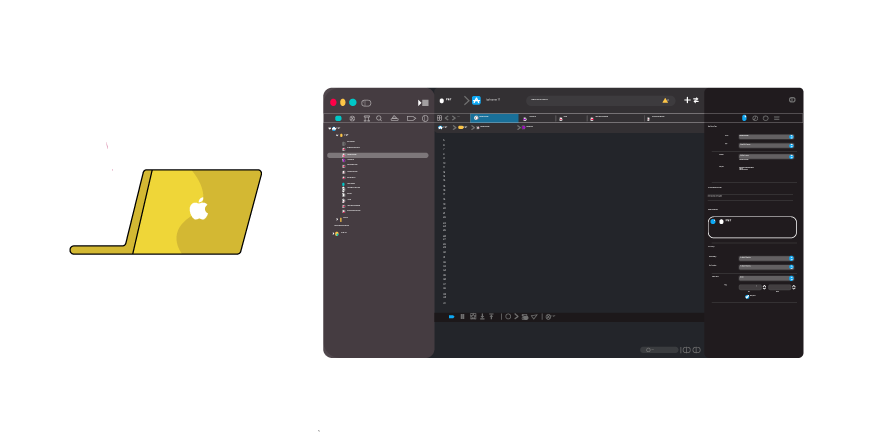
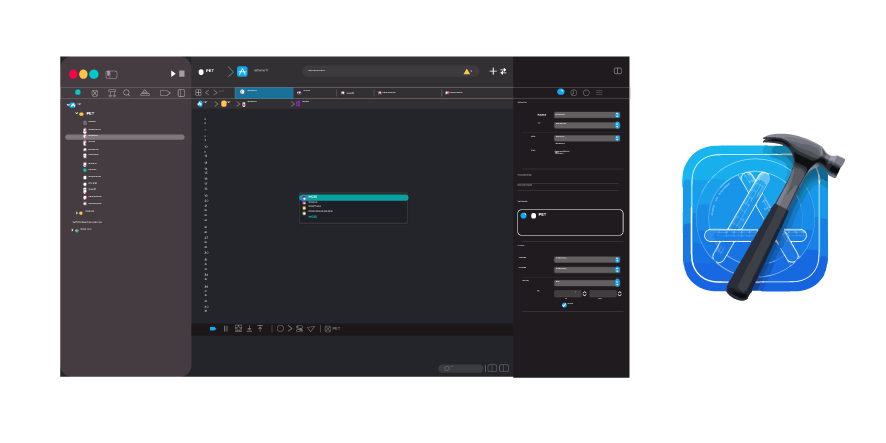
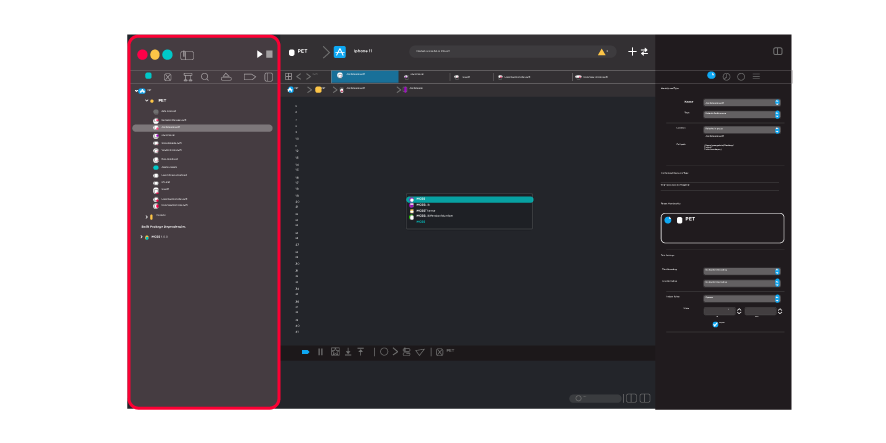
Xcode Toolbar
The Xcode toolbar includes different modules that help you develop your app. Some of the most common modules found in the Xcode toolbar are briefly described below:
- Play/Stop: This button lets you run and stop your app in the simulator or on a physical device connected to your Mac.
- Code editor: This is the main area where you will write the code for your app.
- File browser: This module lets you navigate through the files and folders of your project.
- Assistant editor: This module lets you view and edit different files of your project at the same time.
- Console: This module shows you the output from the debugger and other messages as you develop your app.
- Inspector: This module lets you view and edit the properties of different elements of your user interface.
These are just some examples of the modules found in the Xcode toolbar. There are many other modules that you can use to help you develop and debug your app.
Preview
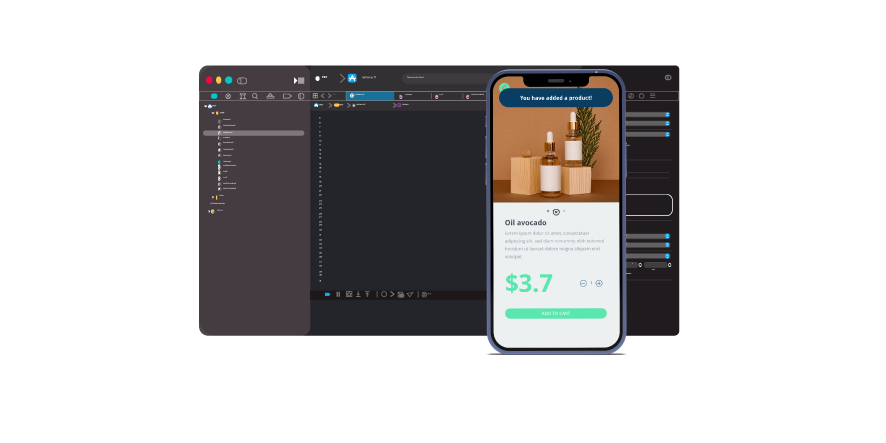
The preview in Xcode is a feature that lets you see how your user interface will look in real time while you are designing it. By using the preview, you can see changes you make to your user interface immediately, allowing you to adjust and improve its design more efficiently.
In addition, the preview lets you see how your user interface will look on different devices and orientations, helping you to ensure that your app looks good in all cases.
In summary, the preview in Xcode allows you to quickly and easily see and test your user interface, helping you to improve its design and make sure it looks good on all devices.
Run the app on an iPhone
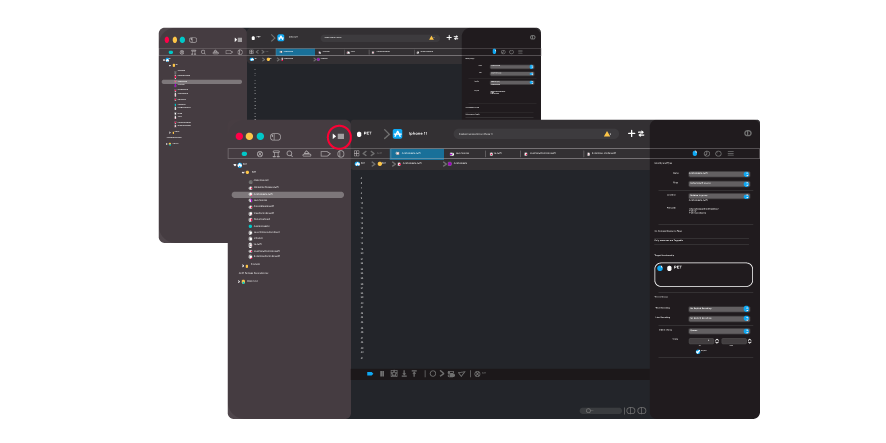
To run an app on an iPhone from Xcode, follow these steps:
Connect your iPhone to your Mac using a Lightning cable.
Make sure your iPhone is set up as a target device in Xcode. To do this, go to "Preferences" in the menu bar at the top of the screen and then select "Accounts". Click on the "+" button in the bottom right corner of the window and add your Apple developer account if it is not already added.
Open your app's project in Xcode.
In the toolbar at the top of the window, select your iPhone's name from the "Scheme" dropdown menu.
Click on the "Play" button in the toolbar to build and run your app on your iPhone.
Once your app has been built and run, it will appear on your iPhone and you can use it like any other app.
Xcode is an integrated development environment (IDE) from Apple that is used to develop apps for its platforms, such as iOS, iPadOS, macOS, watchOS, and tvOS. Xcode supports a variety of different file and project types, which are used for different purposes in app development.
Xcode file options and types
Source code files: These files contain the code for your app, written in a programming language such as Swift or Objective-C.
User interface files: These files contain the structure and design of your app's user interface, such as the layout of buttons and text on the screen.
Resource files: These files include images, sounds, and other resources used in your app.
Configuration files: These files contain information about the settings and options for your project, such as the app's name and developer identification.
Project templates: Xcode includes different project templates that help you start a new project with a basic set of files and settings already in place.
Debugging
To debug errors in an app with Xcode, first make sure you have the latest version of Xcode installed on your device. Then, open your project in Xcode and click on the "Run" button to start the app in the simulator or on a connected device. If the app stops with an error, Xcode will display an alert and allow you to view the source code where the error occurred. You can use Xcode's debugger to examine the program's state at the time of the error and find the cause of the problem. You can also use the console to view error messages and debug the app step by step.
MCSS is a framework that allows developers to apply stylesheets to native iOS and Android apps without modifying the structure, design, or aesthetics. This framework allows developers to work with JAVA and SWIFT simultaneously, reducing the time and cost of developing a native app by more than 40%. MCSS is easy to maintain and has a low learning curve, making it a valuable tool for any developer. If you want to reduce the time and cost of developing a native app while maintaining a high level of performance and user experience, consider using MCSS in your next project.
Remember that developing iOS apps takes time and dedication, so don't be discouraged if you don't achieve your goals right away. Keep practicing and take advantage of new technologies like MCSS to make the process easier!